
A Snowboarding Birthday Party: How We Planned Dune’s “Four(EVER) Shredding” Celebration in Under 2 Days
We celebrated our boy turning 4 this week, and I truly can’t believe we’re here. Four feels like a turning-point year — no longer a toddler, but a full-on kid doing all the things.
A few days before his birthday, I asked Dune what he wanted to do. His answer was simple and sweet:
“I want my friends to come to my birthday and have cake with me.”
I hadn’t planned a party… but how do you say no to that?
So I asked one more question: What kind of birthday do you want?
Without hesitation, he said his newest obsession: snowboarding.
Cue two days of scrambling — and pulling together a snowboarding-themed birthday party that ended up being one of my favorite celebrations we’ve ever done.
This wasn’t about perfection. It was about celebrating him, celebrating this season of life, and creating a moment he’ll remember — without spending weeks planning or a fortune on party supplies.
If you’re looking for winter party inspiration, or just need permission to keep things simple and joyful, here’s exactly how we did it.
This post is for any parent who:
- Has a January or winter birthday kid
- Is planning a party last minute
- Wants something fun but not overcomplicated
- Loves the idea of DIY stations over chaos
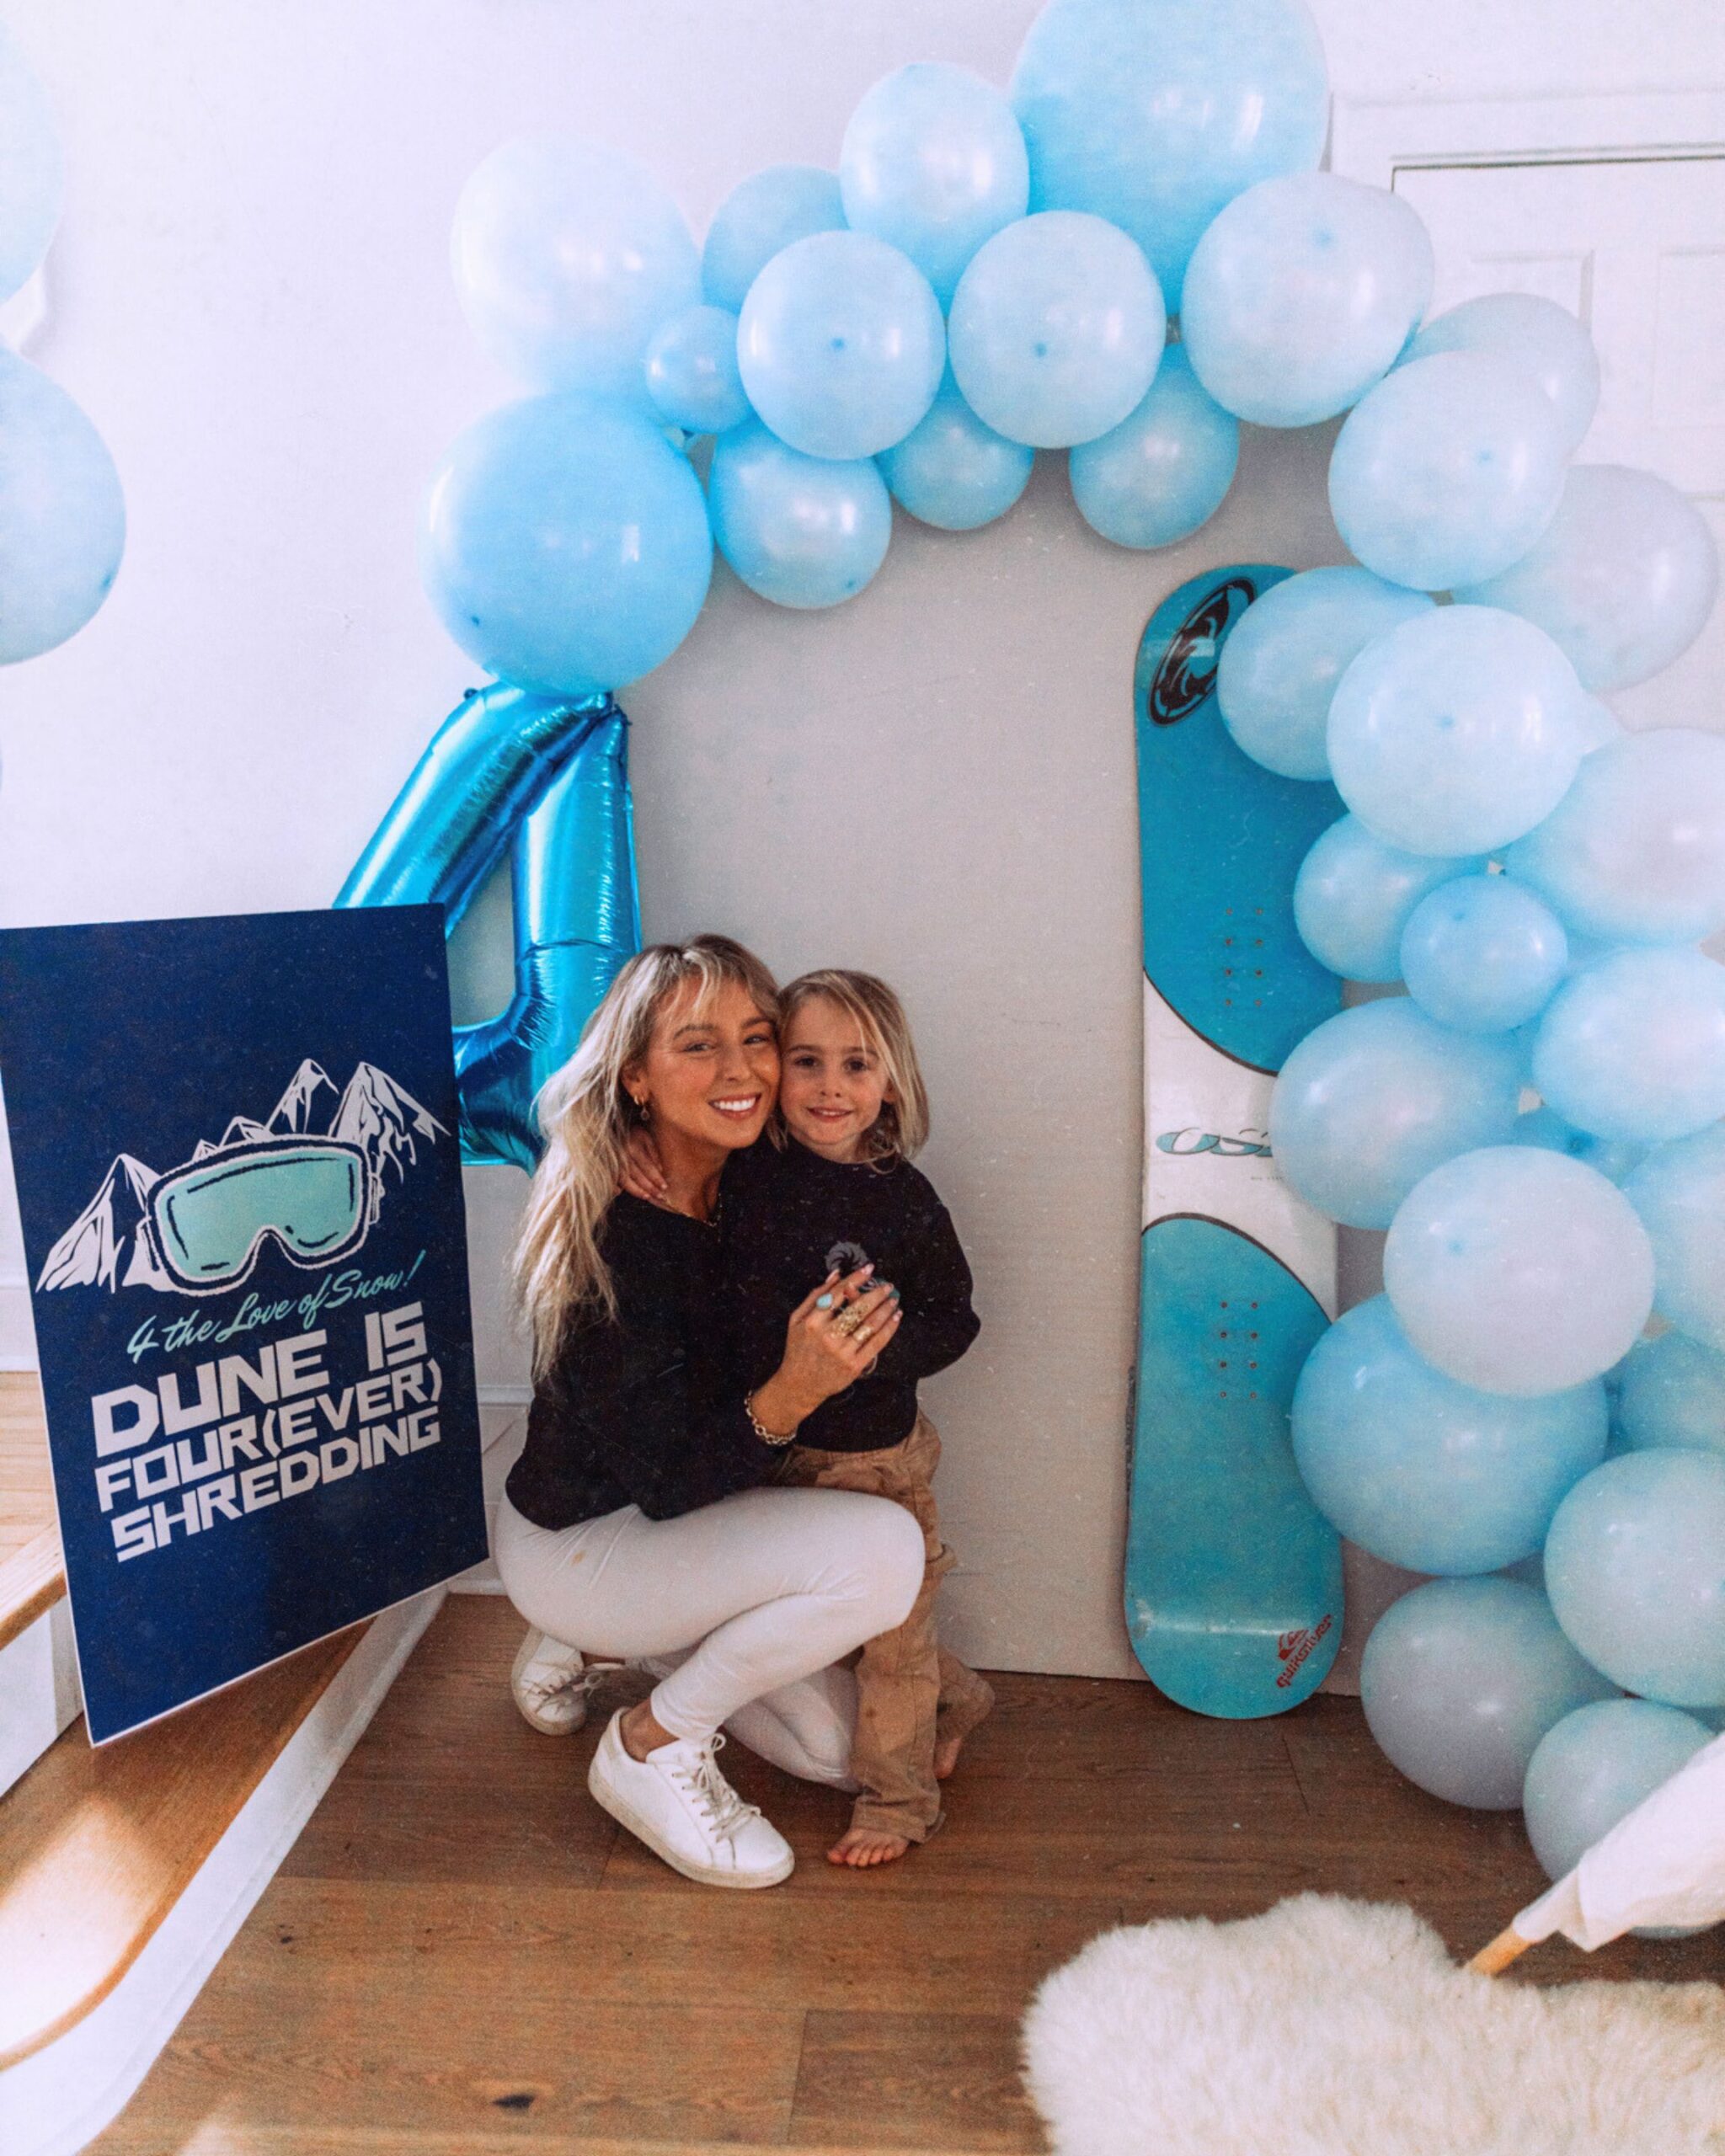
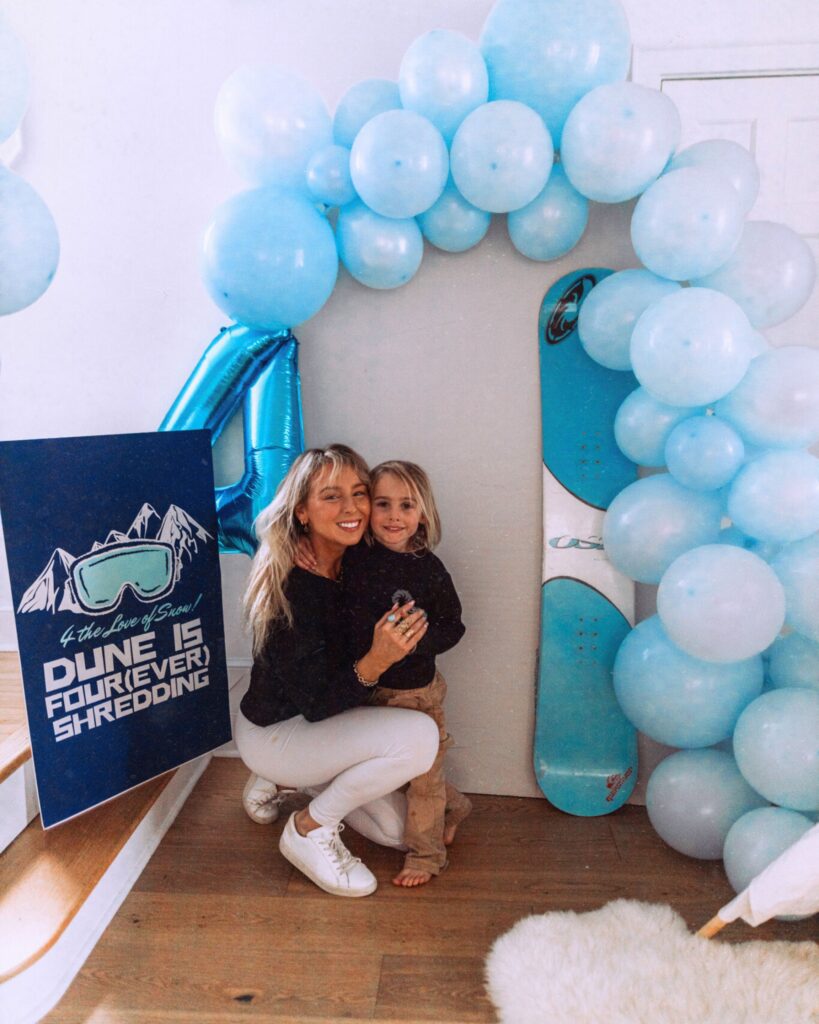
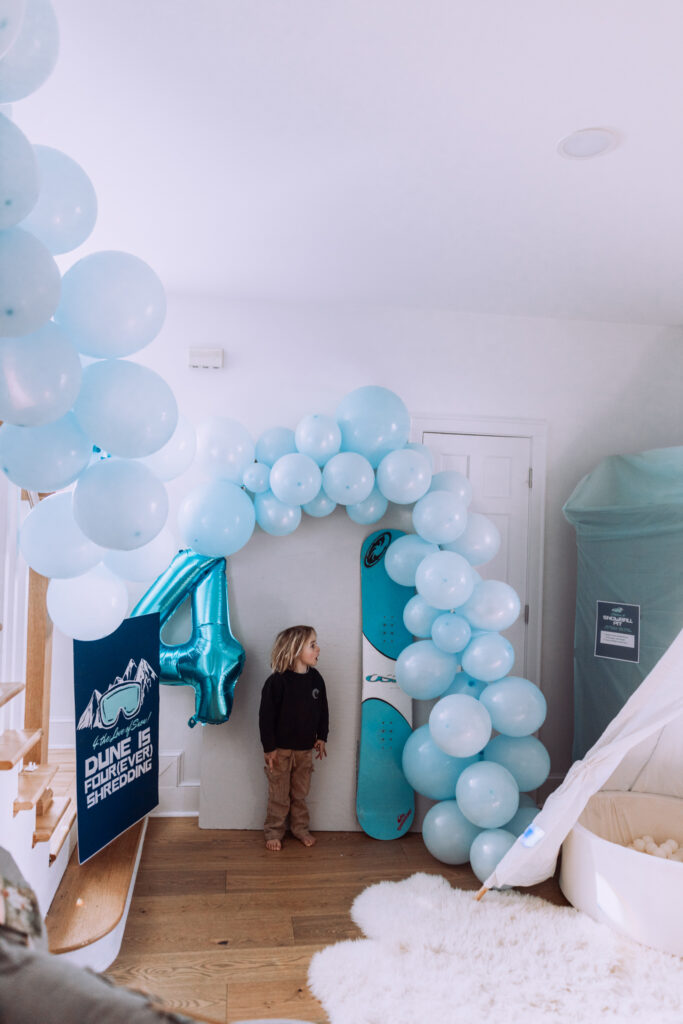
The Party Theme: “FOUR the Love of Snow ❄️🏂 Dune is FOUR(ever shredding)”
Because Dune is obsessed with snowboarding, we leaned fully into a winter mountain lodge vibe. (He did specifically request snowboard theme lol, but its perfect fit for our January baby!) Snowboards, goggles, icy blues, and lots of “shred” language — playful but still kid-friendly.
I designed all the signage using Canva, with ChatGPT helping me plan the stations and wording, then did same-day printing at FedEx. That alone saved the party.
The Party Theme: Four the Love of Snow
Our theme came together with a few playful phrases that set the tone right away, I had asked ChatGPT to brainstorm some ideas for snowboard themed titles and then I refined:
Four the Love of Snow: Dune is Four‑ever Shredding ❄️🏂
Once we had the wording, everything else flowed — from the station names to the signage to the overall vibe.
Pro tip: If you’re planning last minute, Plan with ChatGPT, Design using a template on Canva + use FedEx same-day posters are undefeated. I also ordered all the food any any materials I needed for Walmart Pickup, so it made it super easy to grab all the groceries without taking a 1 and 3 year old shopping through the store. I ordered the few activities supplies just from amazon. You can shop everything I used for the party here:
How We Planned This Party So Fast (and Kept Costs Low)
The biggest reason this party came together easily?
We reused what we already owned.
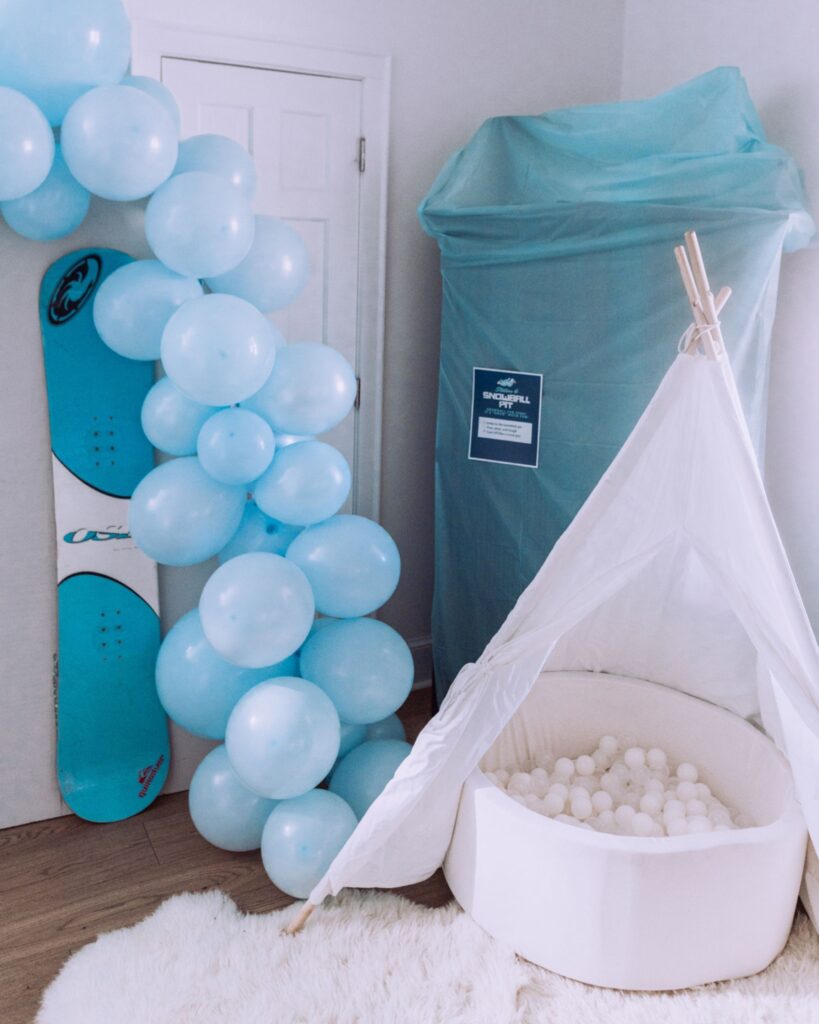
Over the years, I’ve intentionally added just one or two party items each year, instead of buying everything new. This year’s party pulled from things we already had:
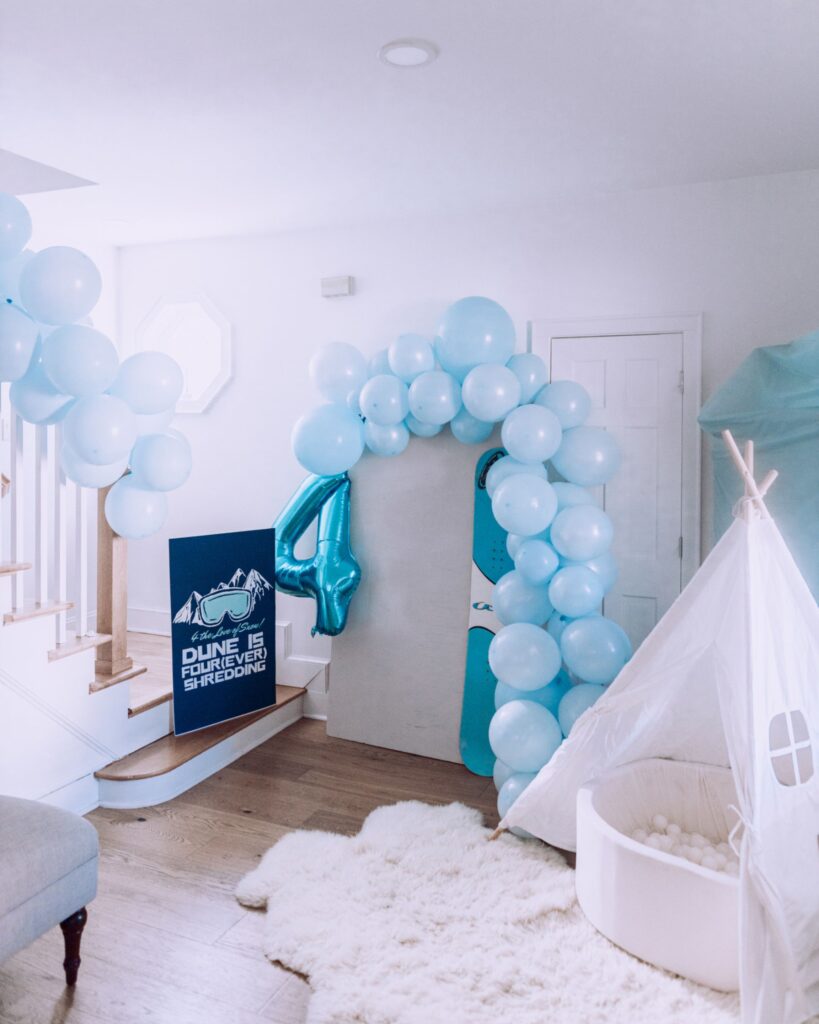
- Balloon garlands + balloon pump (from past birthdays)
- A ball pit we originally bought for Dune’s first birthday (still a hit!)
- A kids tent we’ve used since he was a baby
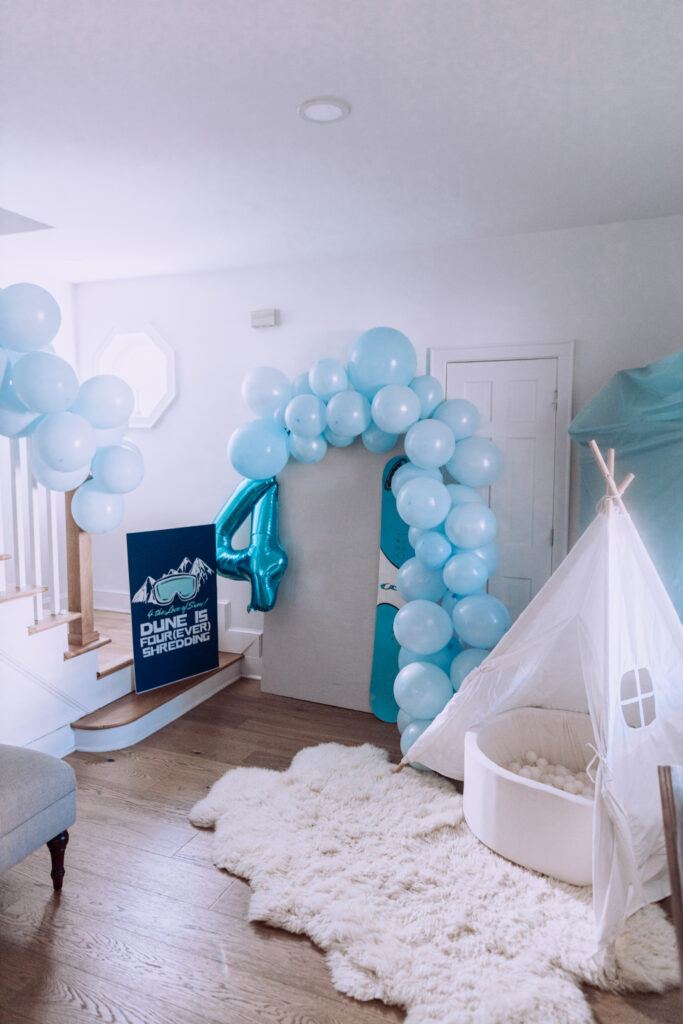
- A DIY arch backdrop I made previously using foam insulation boards from Home Depot, cut into an arch and painted
- A sheepskin rug from our nursery (instant “snow”)
- An old snowboard of my husband’s for decor
I secured balloons and backdrops using Command hooks and 3M tape — renter-friendly and fast.
The Stations (Montessori-Inspired + Kid-Approved)
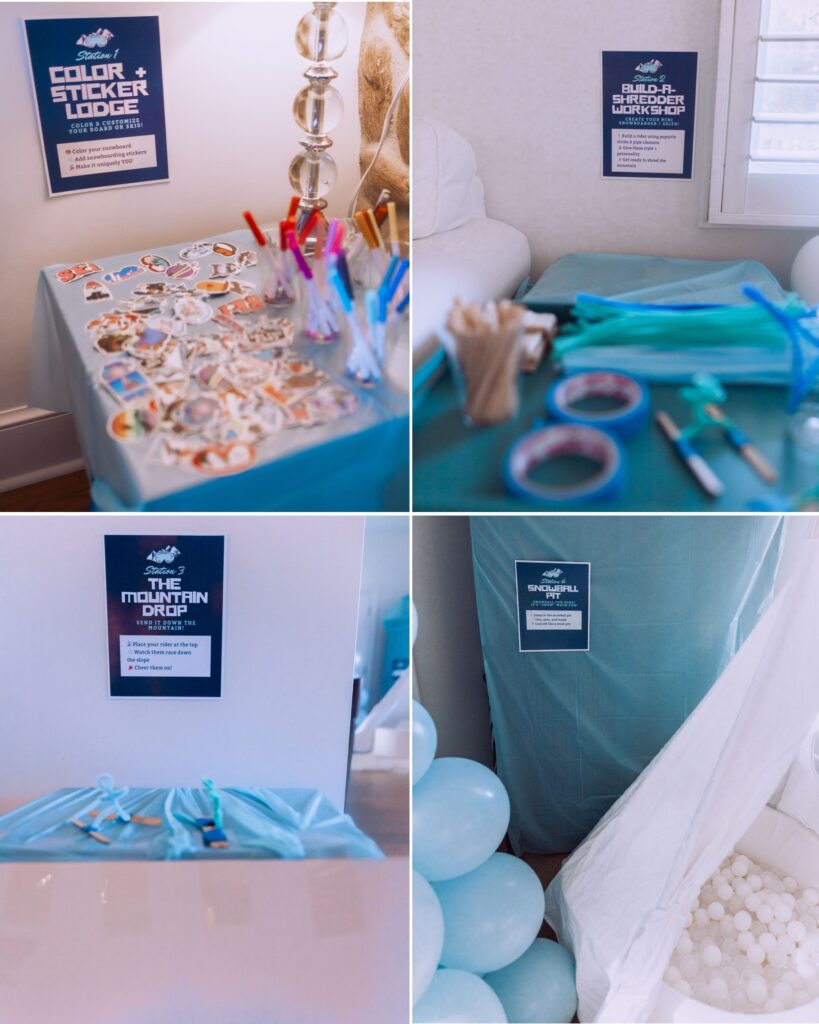
Our kids attend Montessori preschool, and my husband is a huge Montessori advocate (he did Montessori as a preschooler and kindergartener too!), so stations were a no-brainer. Stations keep kids engaged, give structure, and prevent total chaos — especially indoors.
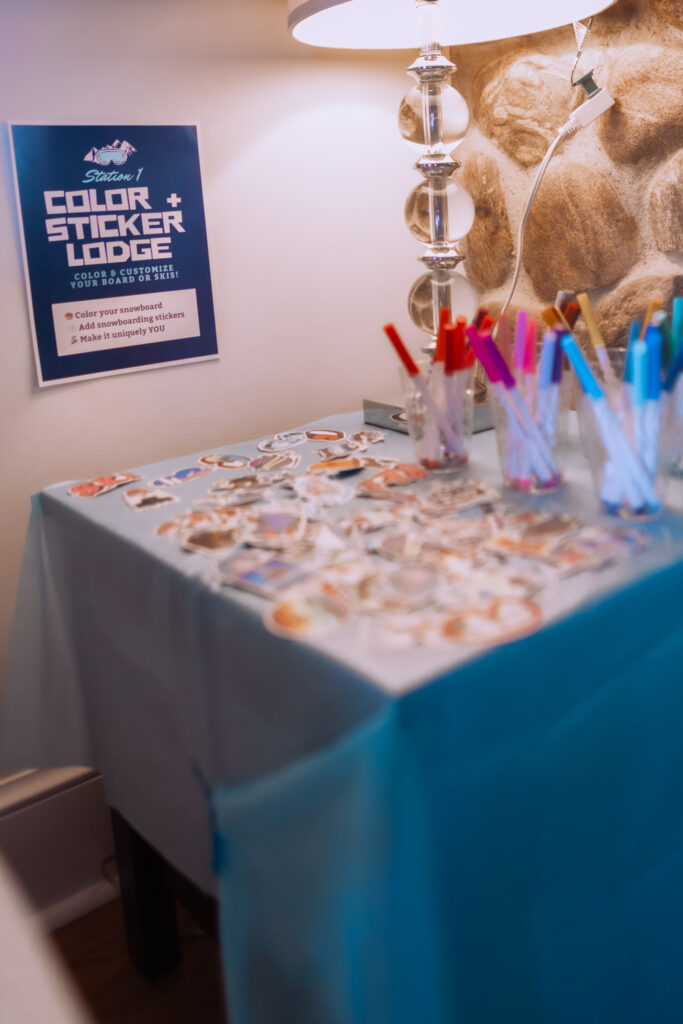
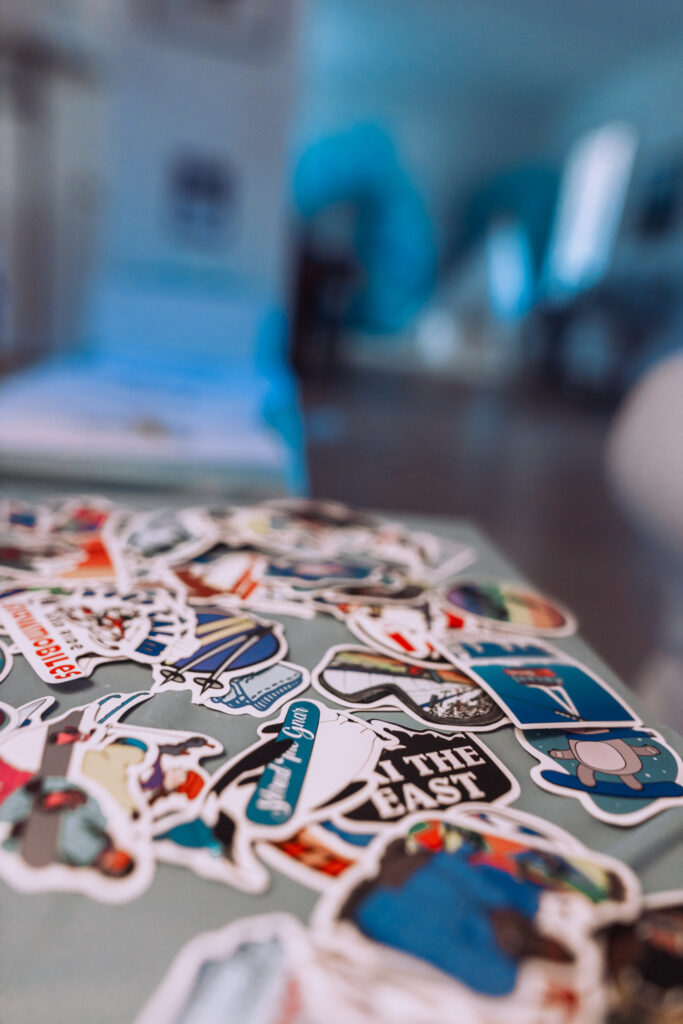
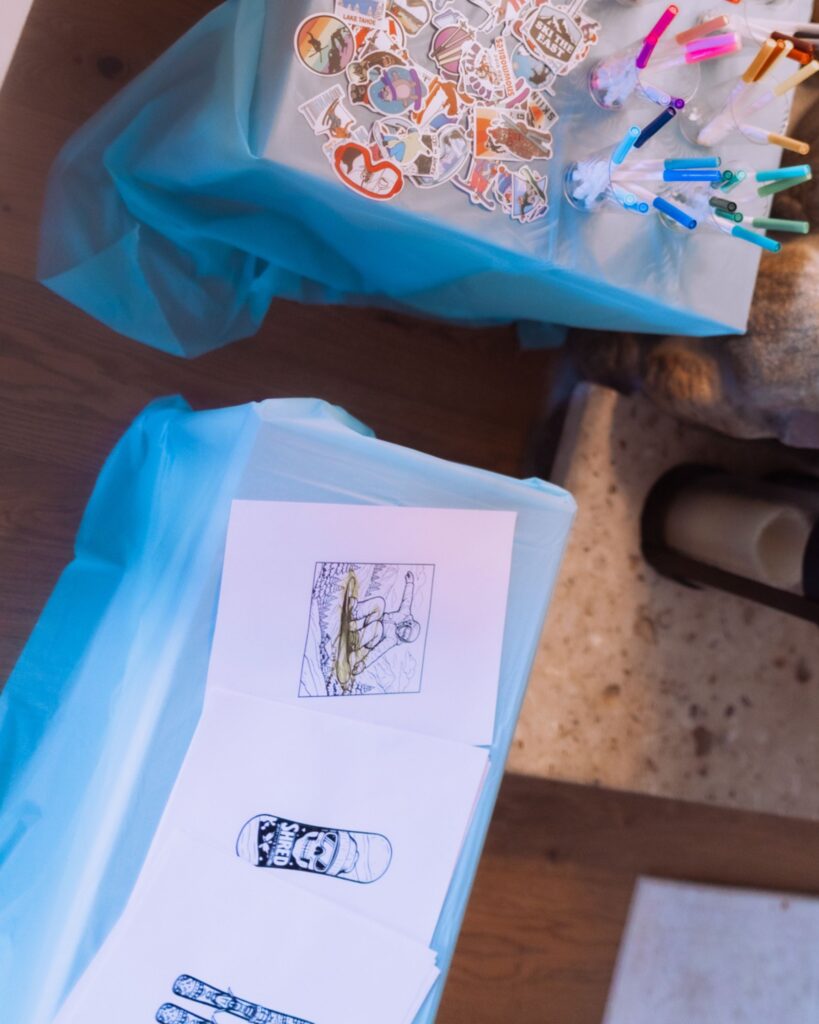
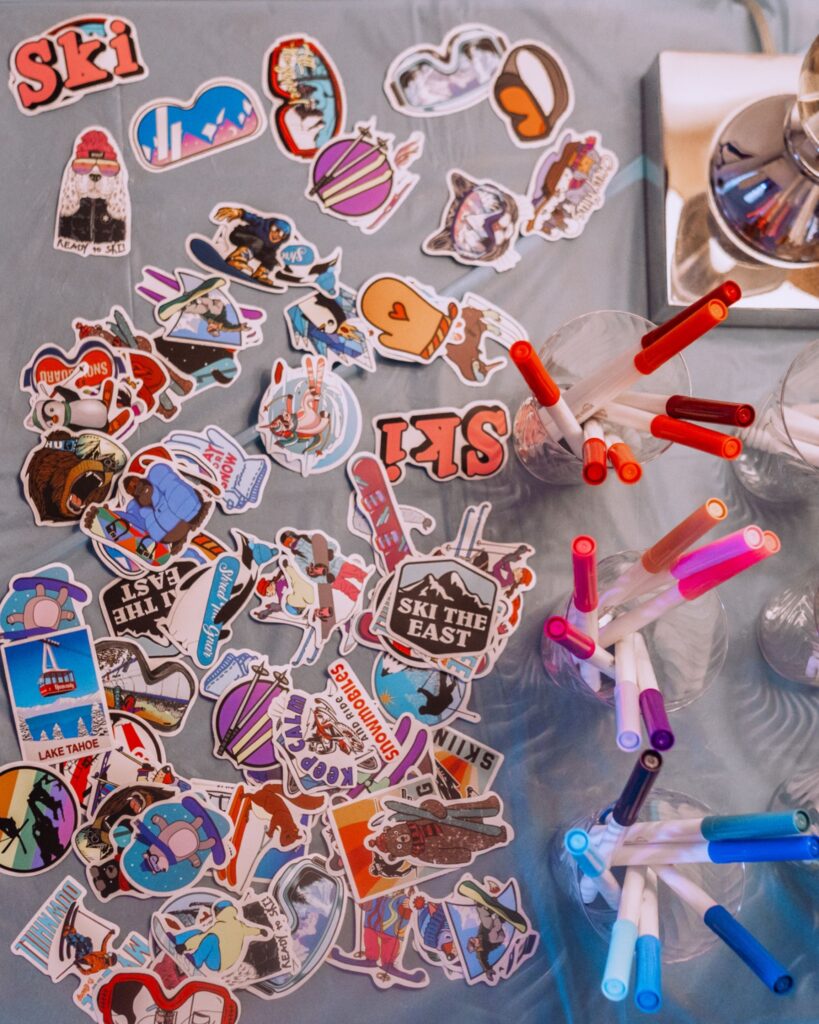
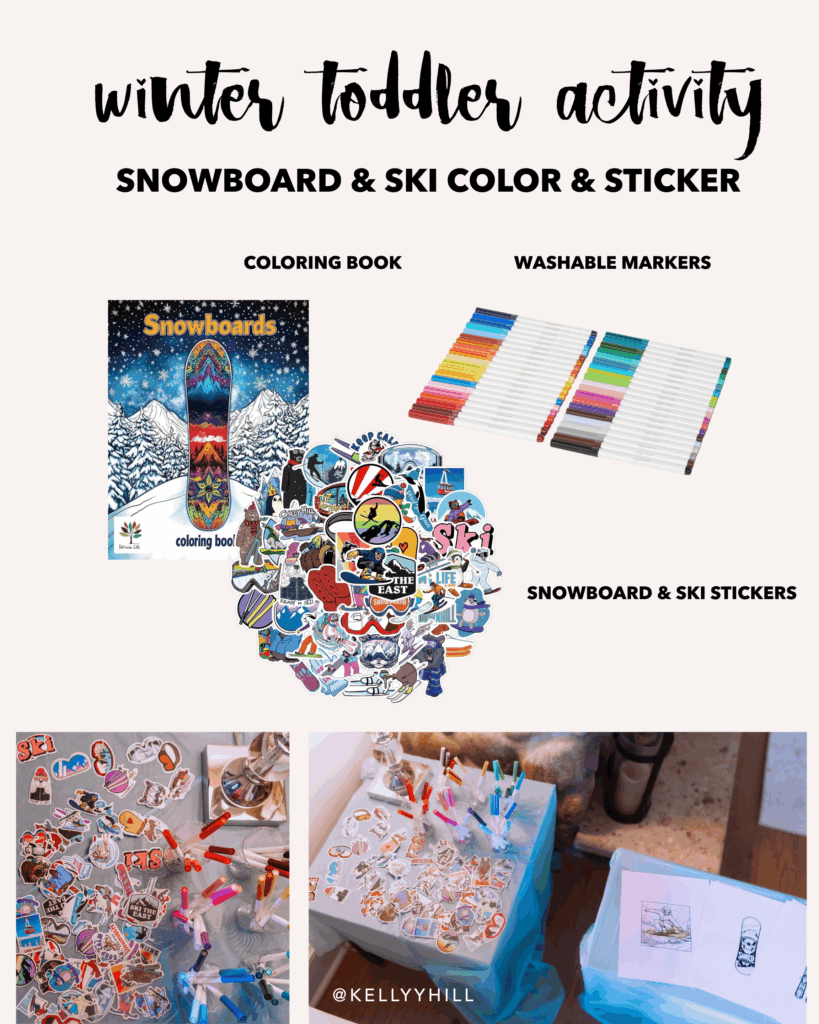
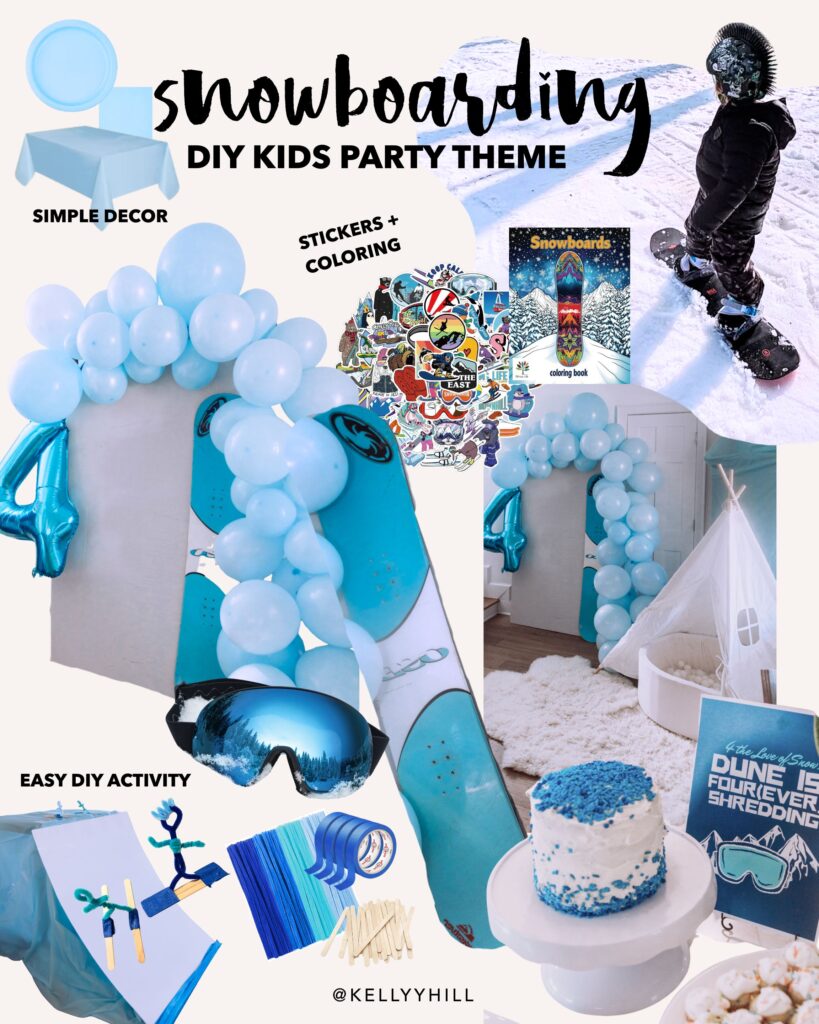
🎨 Station 1: Color + Sticker Lodge
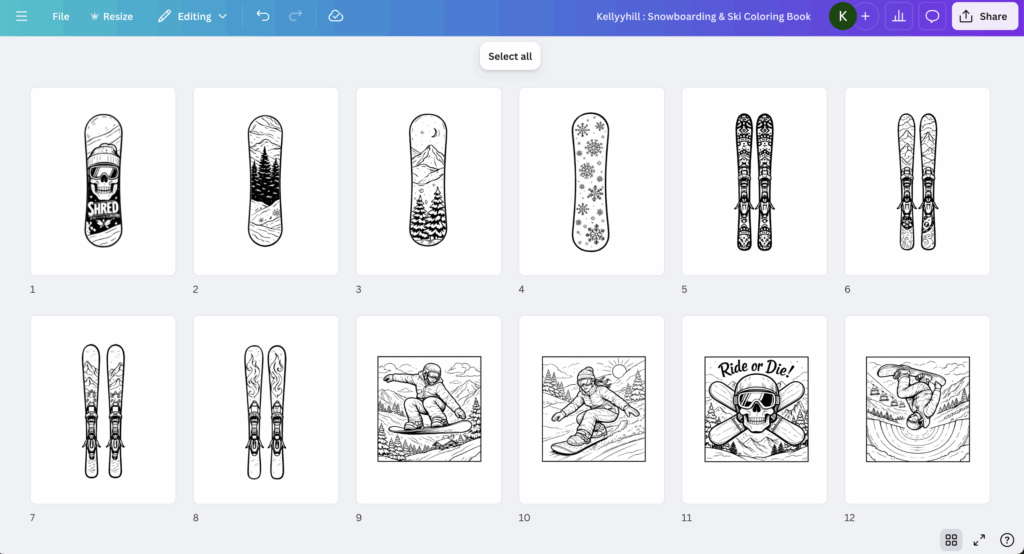
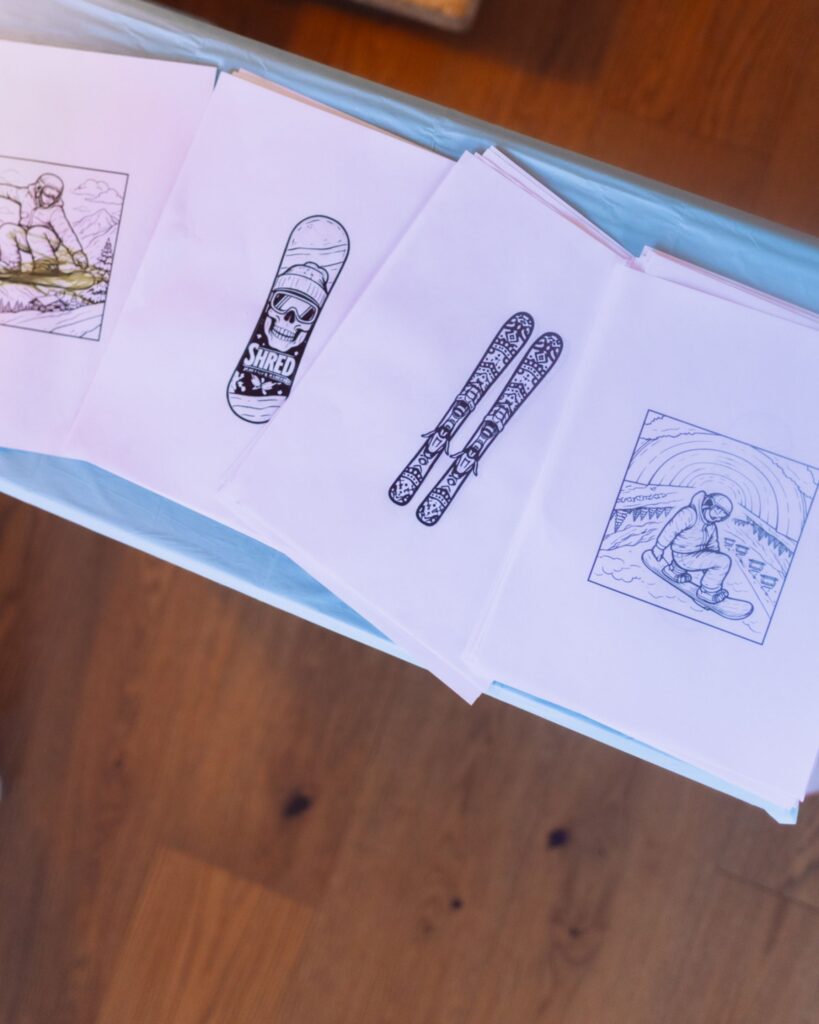
Instead of overloading the kids with too many things, we created a few simple, interactive stations they could rotate through at their own pace. Kids colored snowboarding-themed coloring pages (I just asked ChatGPT to design me some coloring pages!) and decorated them with ski and snowboard stickers (ordered from amazon, linked here).
A calm, creative reset between high‑energy play.
- Snowboarding & skiing coloring pages
- Snowboard‑themed stickers
- Crayons + markers
This was one of the biggest hits — and also one of the easiest parts to plan (more on that below 👀).
Simple, calming, and loved by kids ages 1–6. You can download & print the coloring pages I created for your own kids to use here! And I’ve linked the Snowboard & Ski stickers I ordered here.

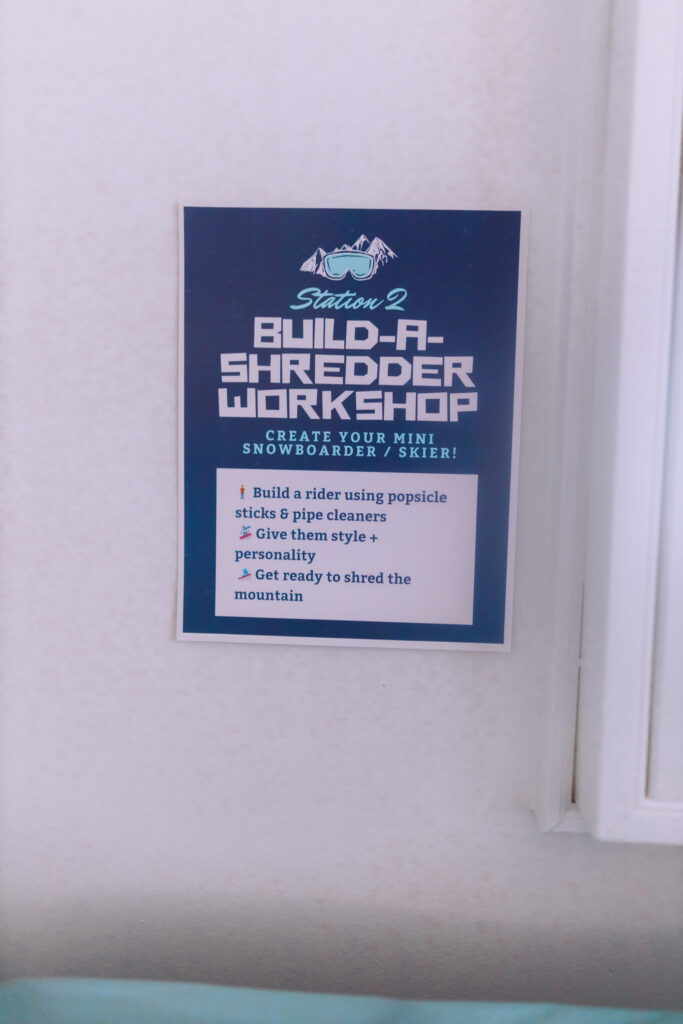
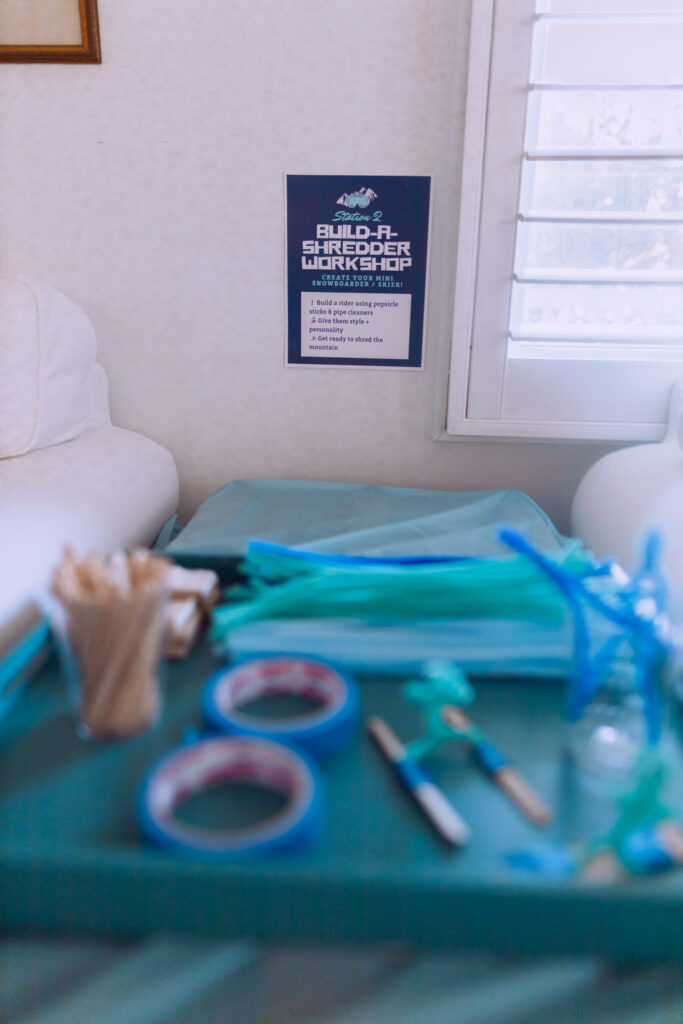
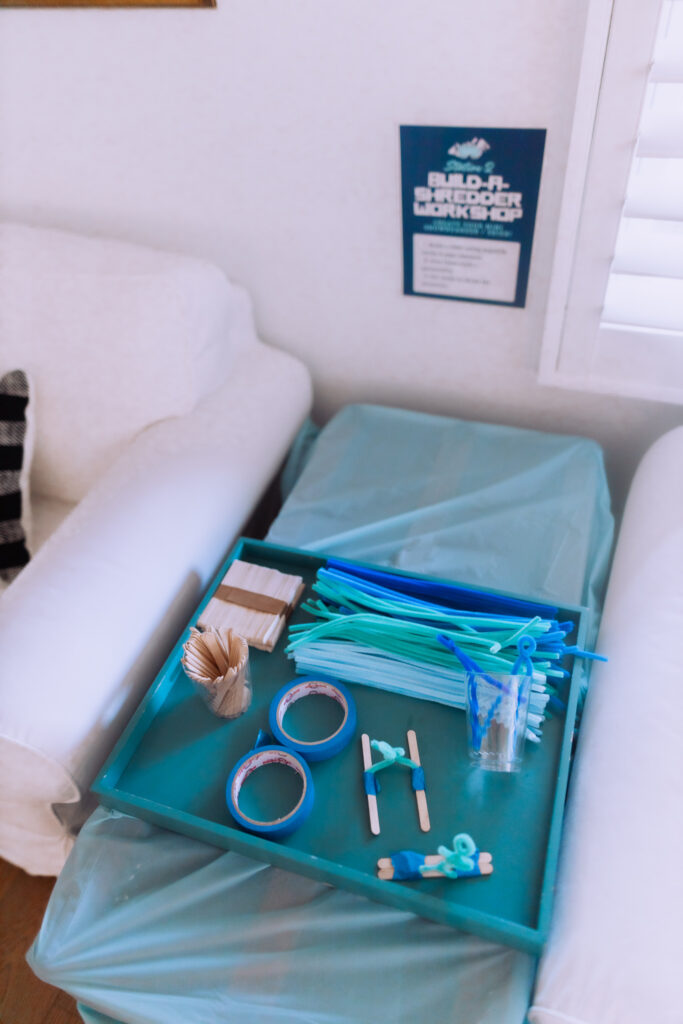
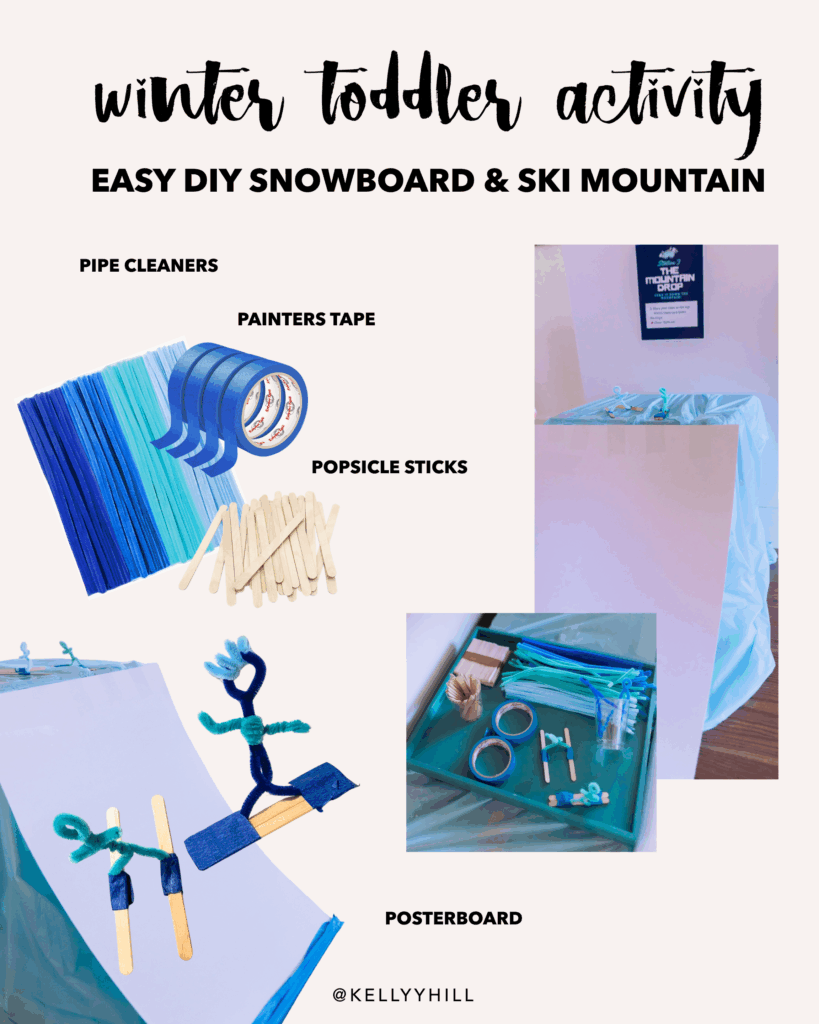
🧵 Station 2: Build-a-Shredder Workshop
Kids built mini snowboarders (or skiers!) using:
- Popsicle sticks
- Pipe cleaners
- Painter’s tape
This was a HUGE hit — creative, hands-on, and surprisingly focused.
All the supplies I used for this are linked here on my Amazon.
Once built, they sent their mini rider down a white “mountain” ramp in the next station. Simple materials, big excitement.
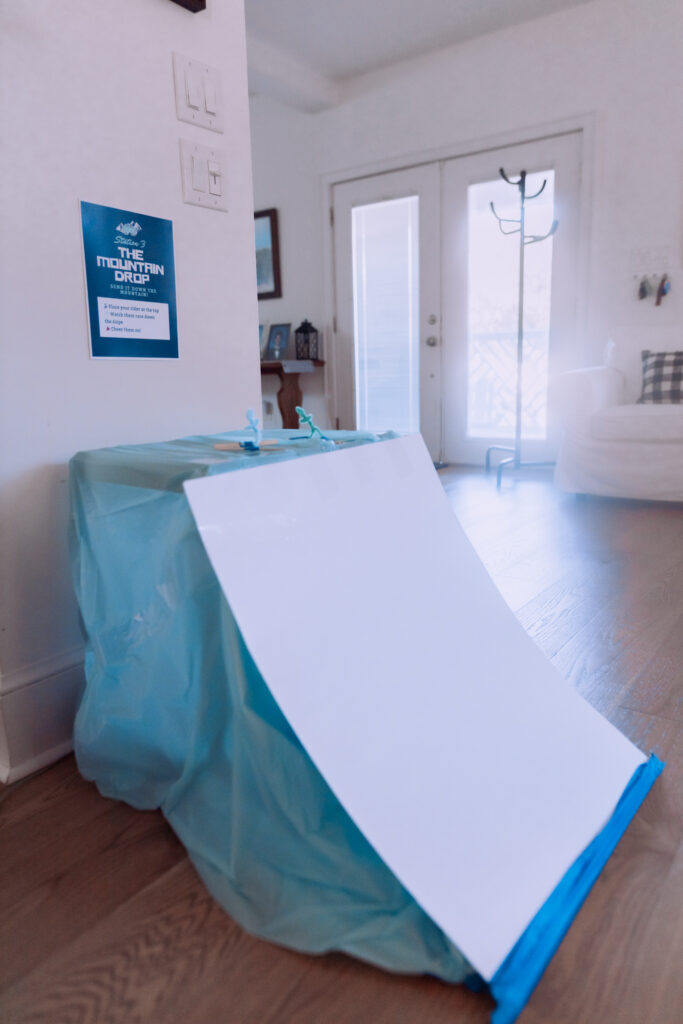
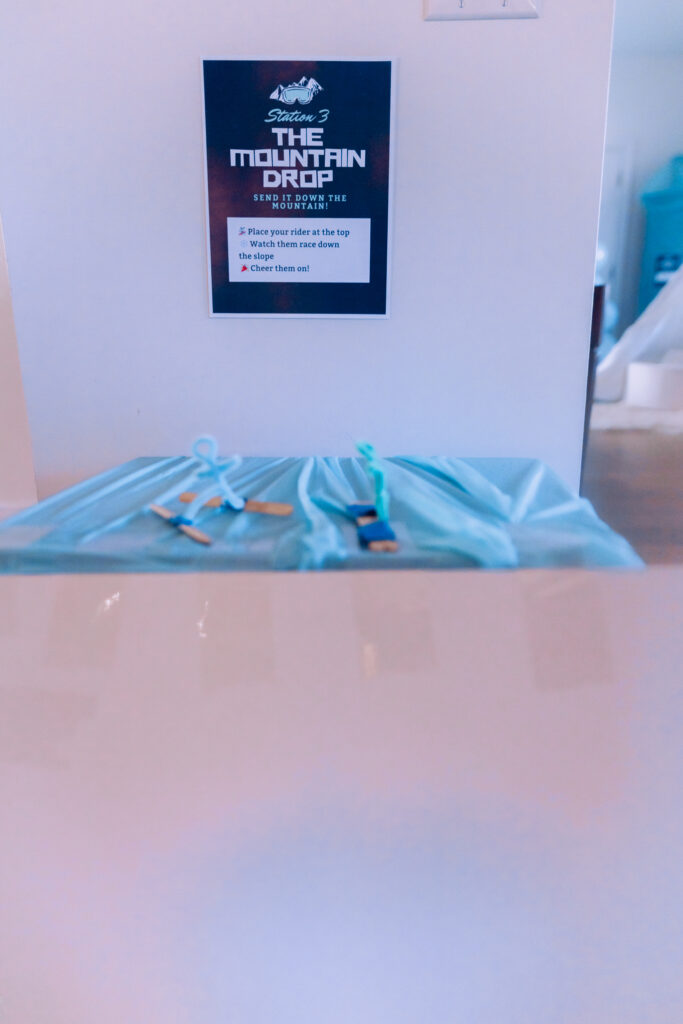
🏔️ Station 3: The Mountain Drop
We made a “mountain ramp” using poster board and let kids send their mini snowboarders down the slope. My son already LOVES sending his monster trucks or skateboards down ramps, so this felt very similar, but to theme!
Minimal setup, maximum excitement. I just added the posterboard to my walmart grocery pickup order. I used the painter’s tape off of a side table (covered with disposable tablecloth) at an angle and taped to the floor to mimic a “mountain slope”
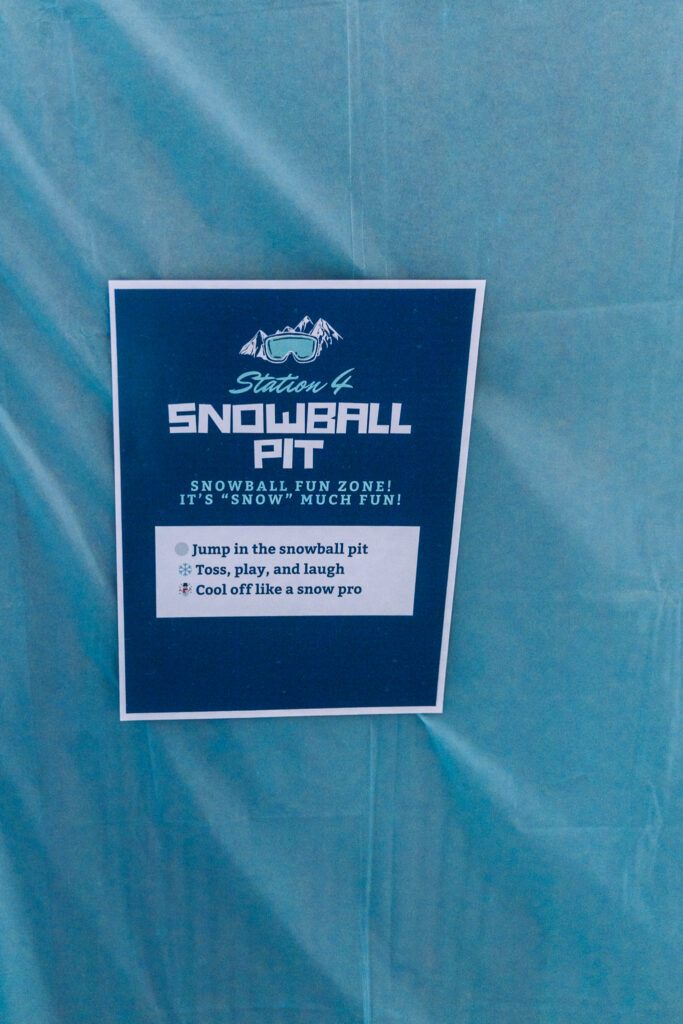
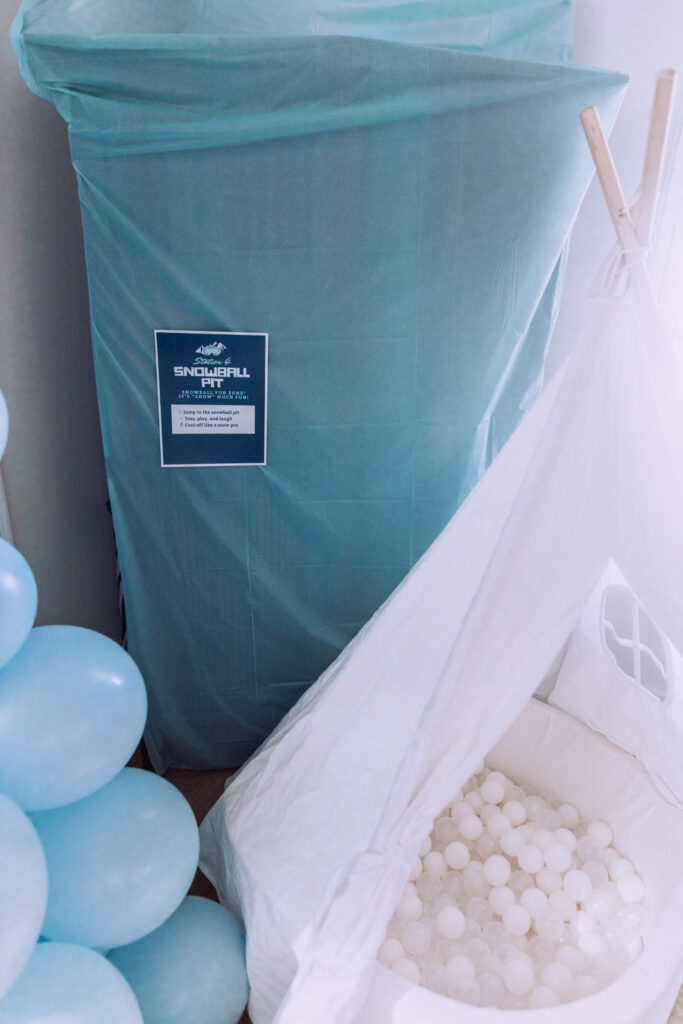
❄️ Station 4: Snowball Pit
AKA our ball pit, repurposed again.
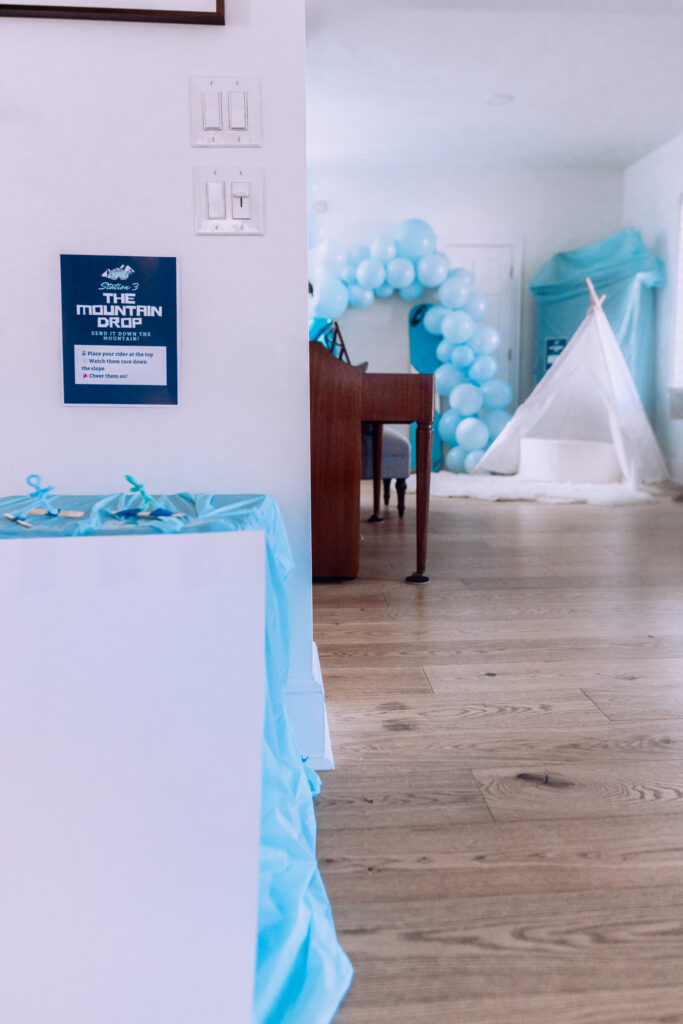
We’ve used this every year since Dune turned one, and kids still go wild for it. I added the sheepskin rug from our nursery and tee-pee tent we use on the beach to help “define” the space better and make it cute. The kids went WILD for this, jumping in and out of it.

Station Spacing Tip:
I quickly and easily “defined” the station just be ordering a few disposable table cloths in the same blue not just to protect the tables (lol kids) but it easily stood out where easy station was because of the blue backdrop or tablecloth. I think this little thing not only protected the spaces, but made the play stations easy for the kids to spot and rotate between.
Food & Drinks: Keep It Simple, Do What You Already Do
One of my biggest last-minute party tips: don’t reinvent the wheel. We have hosted many get-togethers over the years and know our go-to party foods that are delicious, easy for us to cook, and serve a crowd. For me, it’s more stressful to run around town picking up food the day of, I’d rather be prepping at home. So we went with our go-to BBQ dishes for the party (plus themed ideas for the food and drink stations planned thanks to ChatGPT lol)
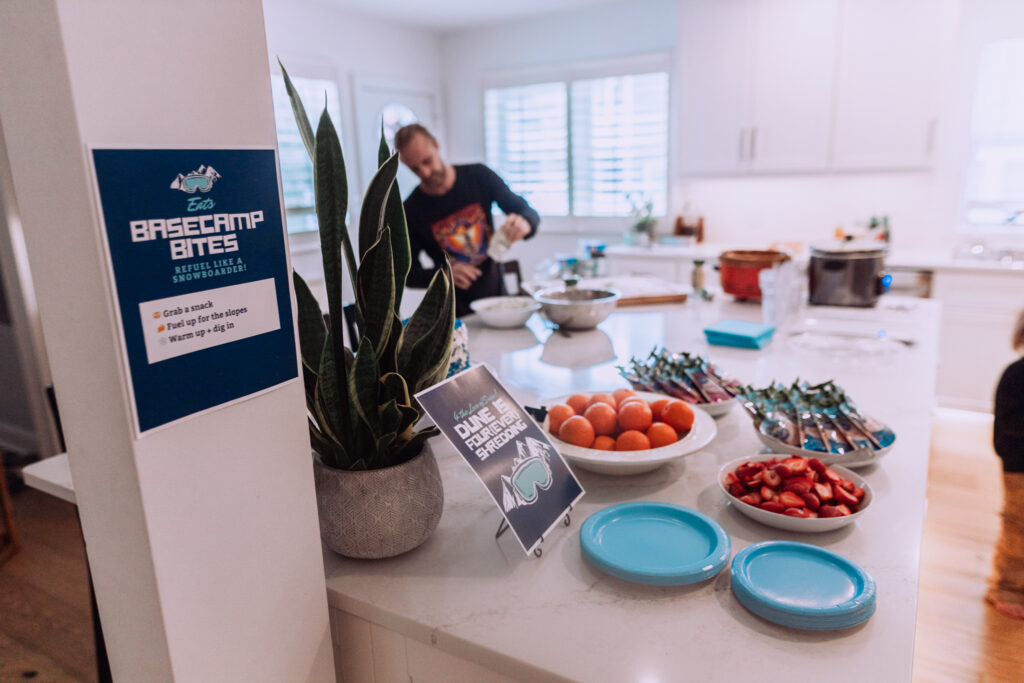
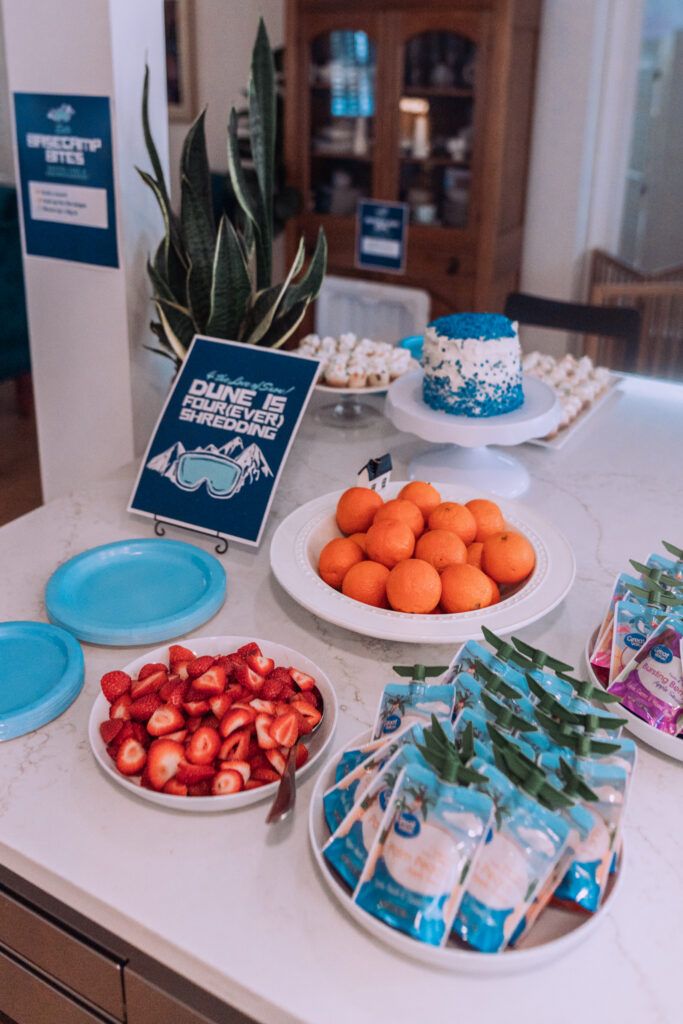
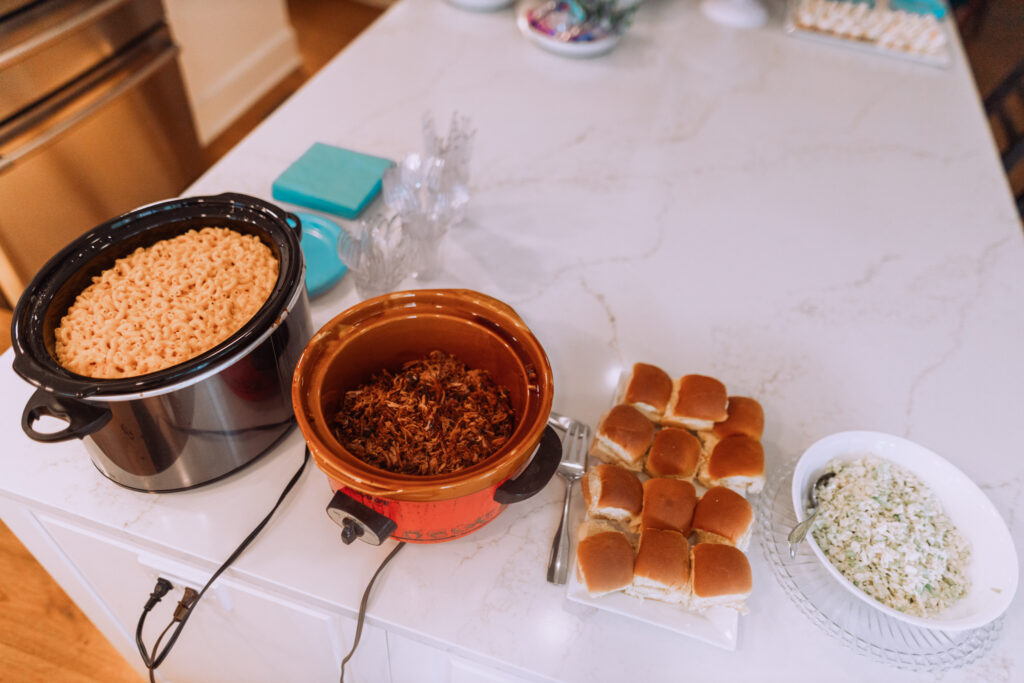
The Food: “Basecamp Bites”
- My husband is amazing at barbecue, so he smoked a pork butt (our go-to)
- Homemade coleslaw
- My homemade mac & cheese (kids love it — you can’t go wrong – it’s literally just macaroni, cheese, sour cream, heavy whipping cream or whole milk, butter, and a little salt + pepper)
- Fruit Puree Pouches
- Fruit (we went with strawberries and clementines)
Drinks: “Après-Ski Sips”
We kept drinks simple:
- Mini Water bottles
- Beer + hard seltzers for adults
One lesson learned: kids LOVE juice boxes. We don’t keep juice at home, but next time I’ll definitely add them (I had some requests during the party – OOPS)
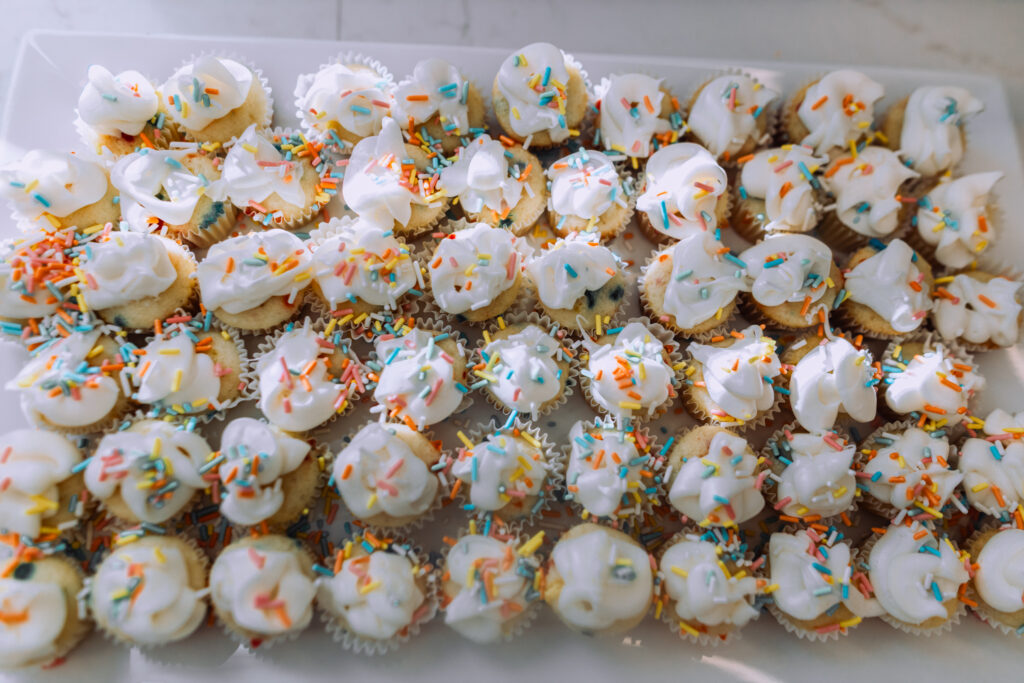
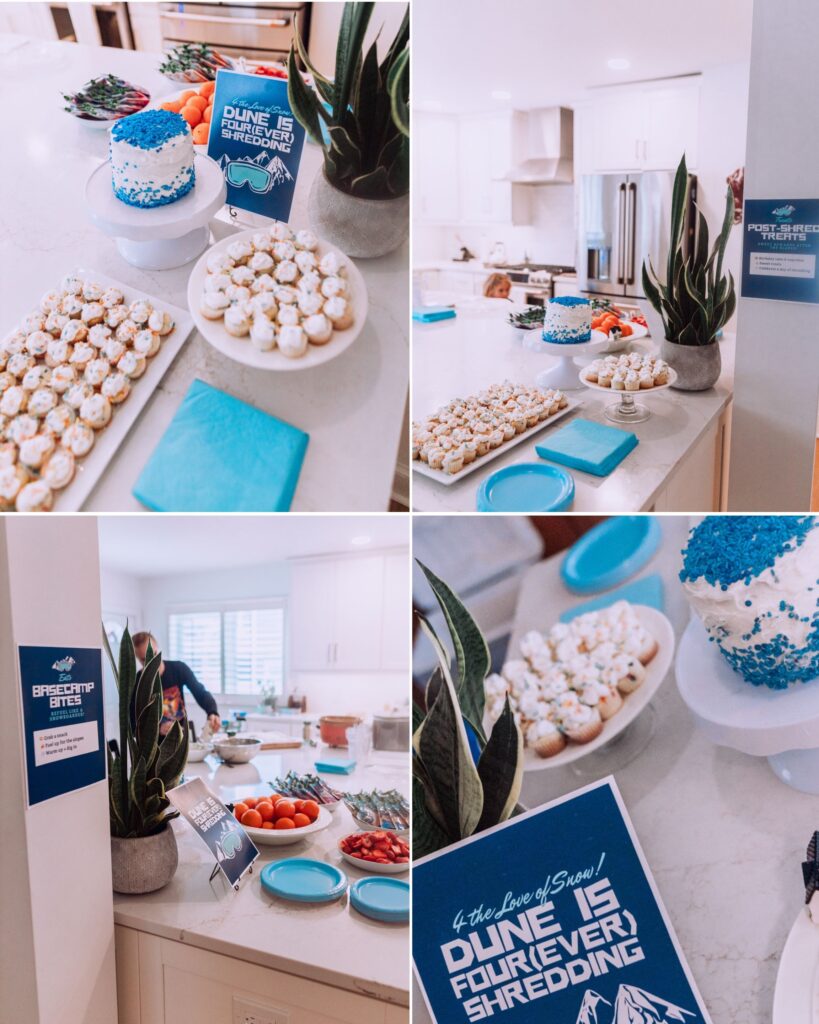
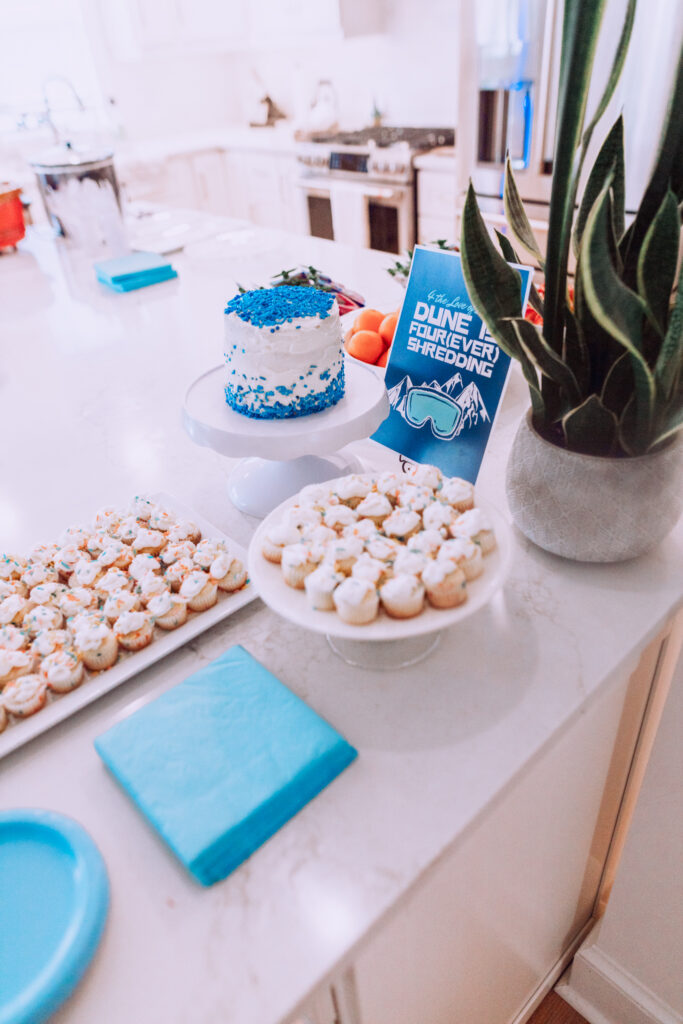
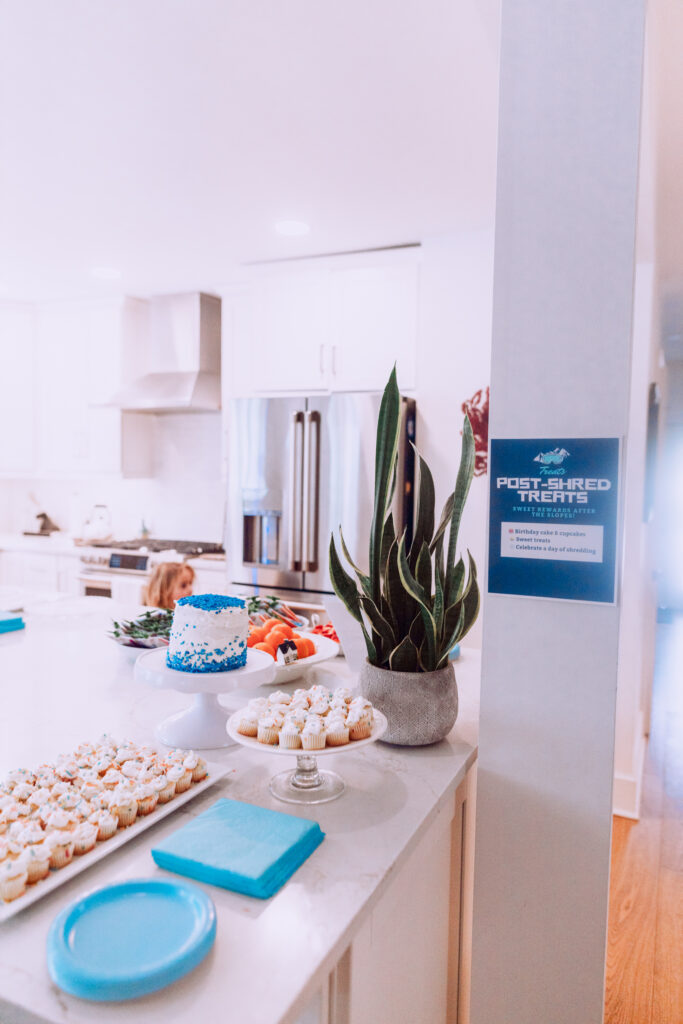
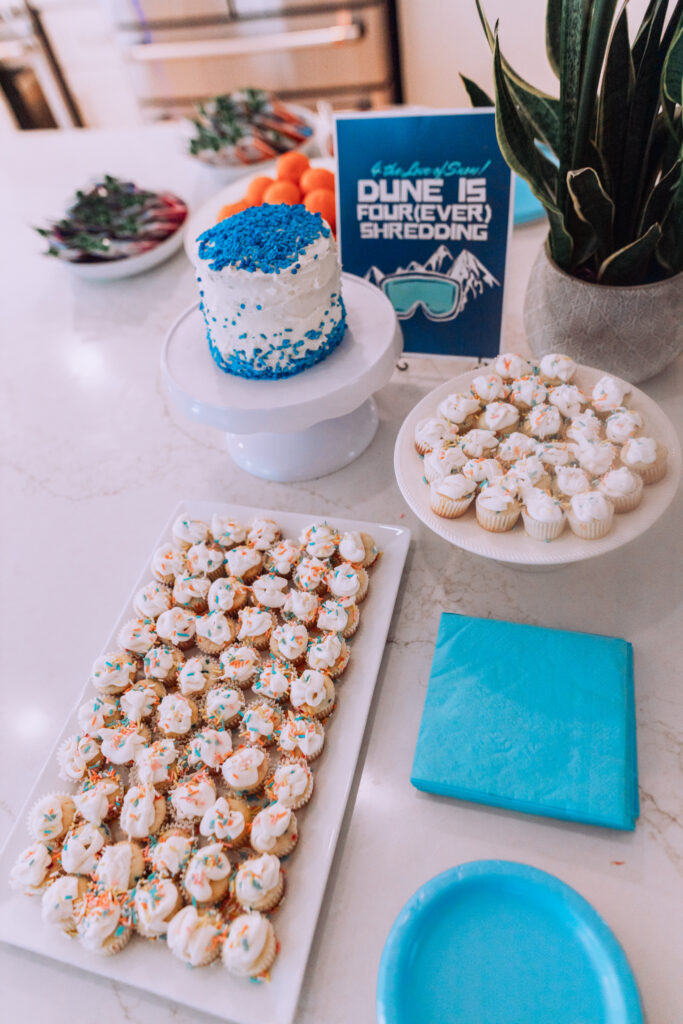
Dessert: “Post-Shred Treats:”
I normally prefer making homemade cakes (I love baking!) but for the sake of time, I went with semi-homemade that I know everyone would still love, and that is Funfetti boxed cake mix haha. You just can’t go wrong with it, it’s still cheaper than pre-made, and tastes delicious.
- Mini Funfetti cupcakes (mini pans are way better for little kids!)
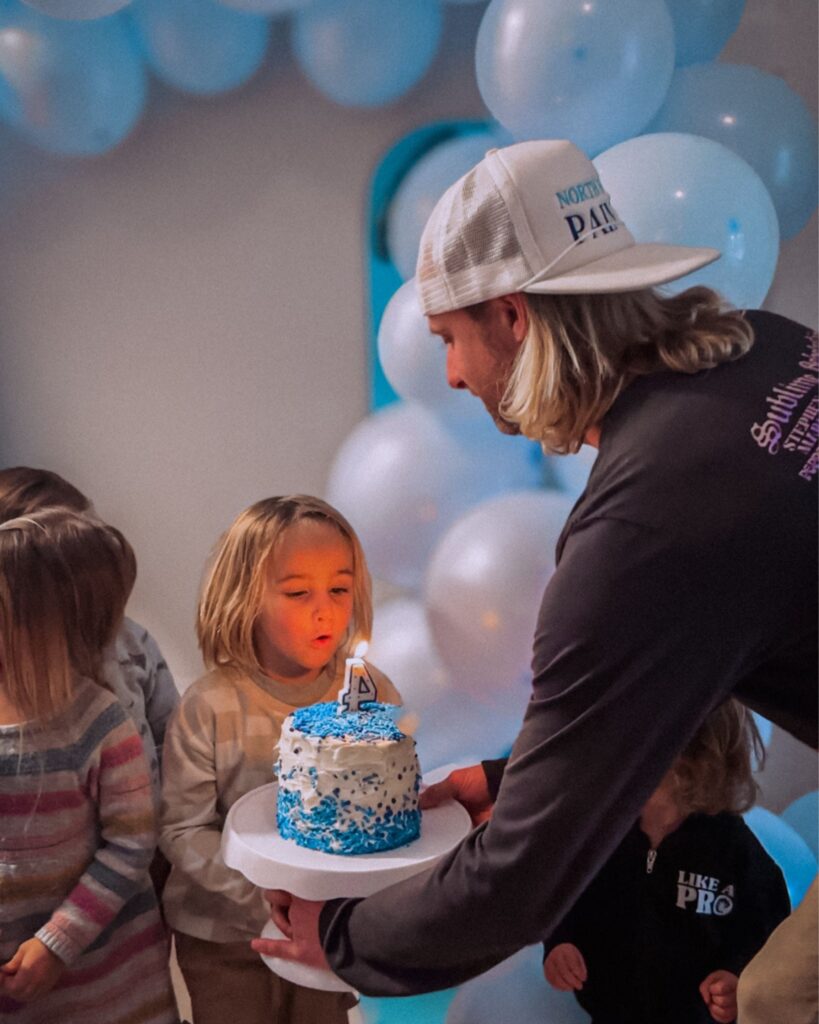
- A tall 4-layer Funfetti cake using 6” pans (Dune specifically requested a “tall cake”)
We also picked up a second cake from the grocery store just in case (chocolate/vanilla marble) to accommodate preferences and allergies. Always check labels and have some options when hosting — especially for nut allergies.


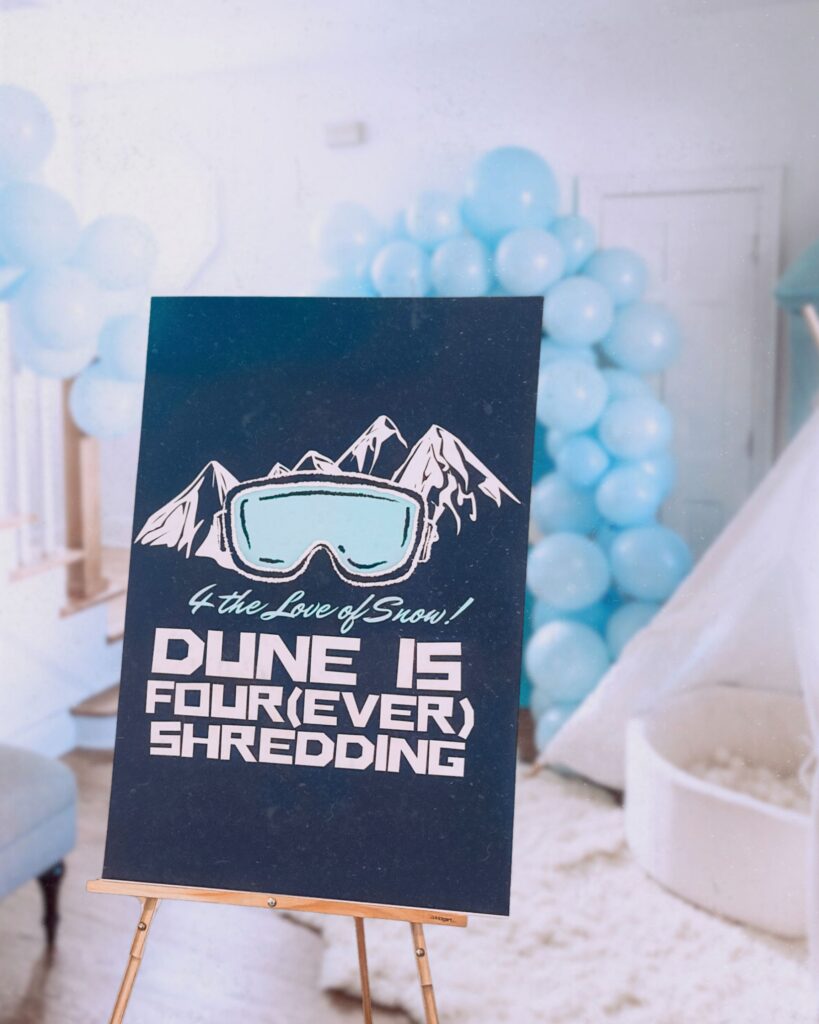
The Signs & Decor (DIY + Print Tips)
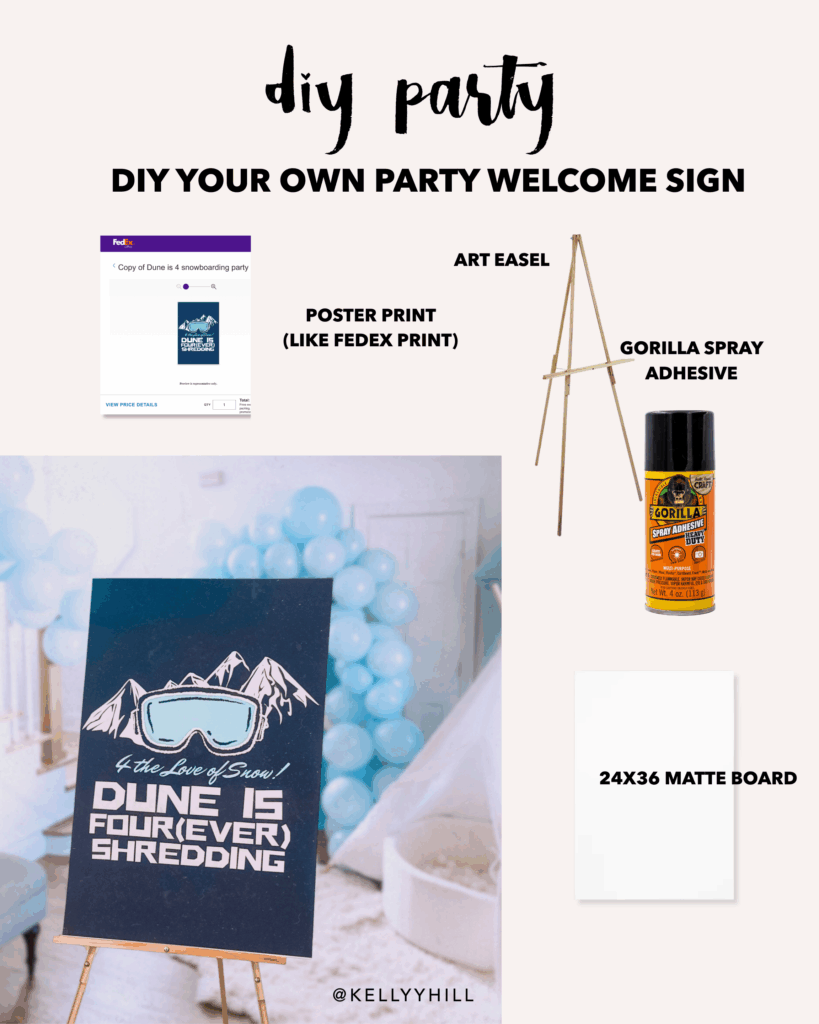
- The large welcome sign was printed 24″x36″ at FedEx
- I mounted it using Gorilla Glue spray adhesive onto matte board (foam board also works)
- Easel is a simple artist easel from Walmart
- All station signs were printed smaller at 8″x11″ and taped up with painter’s tape
- I used a free template in Canva and customized it! I used ChatGPT to help me with wording/theming the station titles and descriptions
Affordable, fast, and polished. The signs helped give directions exactly where to find themes, or instructions for each station to help parents guide children. It’s such a cheap and simple way to reinforce the theme & decor, but be very practical to help your guests find everything! Next time, I would add a sign for the bathroom & trash for any guests that haven’t been over before.
Timing: Why 90 Minutes Was Perfect
We kept the party to 1.5 hours, which I highly recommend for this age:
- 30 minutes for arrivals
- 1 hour of play + stations
- Cake at the end
Short, sweet, and no meltdowns.
Why This Theme Worked So Well for a January Birthday
Winter birthdays can feel tricky — but snowboarding made it perfect. It leaned into the season instead of fighting it (cause we are famous for year round tropical beach living life lol).
But the real bonus: it was 65 degrees, so kids even got outdoor play time at the end. For where we live at the beach on the east coast, January is just a tough time with the weather to predict which has made planning parties somewhat difficult for me in the past and hosting head count, but I hope this helps come up with simple easy ideas for indoor parties at home for kids.
How I Planned This Party Using ChatGPT (In Under 5 Minutes)
One of the biggest planning hacks for this party? ChatGPT.
I didn’t sit down with a notebook or scroll Pinterest for hours. I literally opened ChatGPT and asked:
- For snowboarding‑themed coloring pages
- For simple station ideas
- For on‑theme station names and wording
Within minutes, I had:
- Printable snowboarding & skiing illustrations
- Activity ideas that were age‑appropriate
- Cute, cohesive language that made the whole party feel intentional
Instead of overthinking every detail, I let AI help with the brainstorming so I could focus on actually enjoying the process.
If party planning ever feels overwhelming, this is your sign that you don’t have to do it all manually. Use the tools.
The Snowboarding Party Activity Stations We Planned (with the help of AI for fun, on theme wording!)
Instead of overloading the kids with too many things, we created a few simple, interactive stations they could rotate through at their own pace. Here is the list again. I highly recommend for kids of this age having a few focused/calming activities but also a designated physical activity station cause kids have a lot of energy!
🎨 Coloring + Stickering Station
🏂 Mini Shredder Build Station + Mountain Station
❄️ “Snowball” Pit
🍖Basecamp “Bites”
🍰 Post‑Shred Treats
🥤 Après‑Ski Sips
How I Designed Everything Without Starting From Scratch
Another huge time saver? Canva templates.
I searched “snowboarding flyer” in Canva, chose a free design I loved, and used that as my design anchor for:
- Welcome sign
- Station signs
- Food labels
- Cake table signage
By duplicating one template and swapping text, everything stayed cohesive without me needing any design skills.
Pro tip: Pick ONE design you love and build everything from there.
The DIY Welcome Display Sign
I DIYED the welcome display sign – at the time of this party, at Fedex, printing the poster print at 24×36″ (this is a good welcome sign size) is $34, but to have it mounted by them was DOUBLE the print ($64) whereas I could pick up some spray adhesive for $6 that I would be using over and over again and a matte board for $9 that I can also use again several times for several future events! And just remount future signs on.. so even though its only saving $15 this time, it will save me another $35 for the next party since I’ll already have what I need to mount it. This might sound minimal but I think every $15 adds up to save a few hundred dollars for a party, but to give a bigger impression!
Every year I add a few new party items/diy elements so this year, this was one of them! Last year it was the mini cake and cupcake pans and cake stand I bought, so I already had stuff like that for this year! So my biggest tip is to choose a couple things each time and by a few years old, it’ll add up. We live in a 900sq ft surf shack old beach cottage, so we don’t have much storage space, so I’m also mindful about what I can reuse and where I would store that!
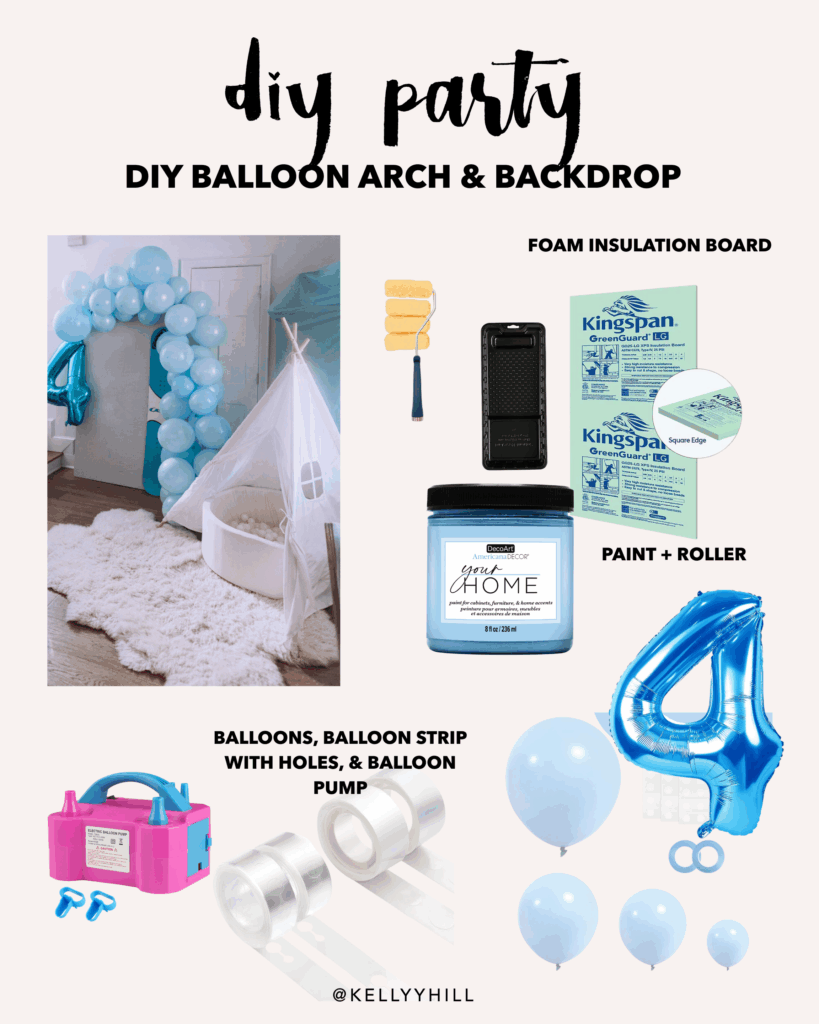
The DIY Balloon Arch & Backdrop
I already had TONS of balloons, balloon pump, and arch string from previous parties, plus I had DIY made a balloon arch backdrop a few years ago that I just reuse and repaint super easily! So this time I just had everything I needed for a display + my husbands old snowboard.
You can DIY your own Backdrop by getting an insulation foam board from Lowes/Home Depot and cutting that arch effect on top into it and just painting! I either lean it against the wall or secure it with command hooks + string. I also use command hooks + string to attach the balloons to it.
Sending Invites the Easy Way (Paperless Post)
For invites, I used Paperless Post — and kept it almost nearly free by using my free Canva design for the invite design.
My process:
- Designed the invite in Canva
- Uploaded it into Paperless Post
- Used the free version to send and track RSVPs
I love Paperless Post because:
- RSVPs are easy to track
- You can message guests quickly (perfect for last‑minute plans)
- It saves contacts for future parties
Even for a small group, it made everything feel organized and stress‑free.
Shop the Party 🎿❄️
Want to recreate this party theme? I linked everything I used below. Perfect if you want to grab everything quickly without hunting.
👉 Amazon Storefront: Snowboarding party supplies, crafts, stickers, and decor all linked here
👉 LTK: Snowboarding‑themed birthday party finds all liked here (all my exact links here!)
Final Thoughts: Celebrate every moment & milestone
This party came together in under two days because:
- We reused what we had
- We kept food familiar
- We planned stations instead of chaos
- We didn’t aim for perfection — just fun
Kids from 1 to 6 years old loved every activity. Proof that simple crafts, movement, and a little imagination go a long way.
If you’re planning a winter birthday, a last-minute party, or just want ideas that don’t require starting from scratch — I hope this inspires you.
And if you’re wondering what four will bring… I’m right there with you. ❄️🏂
This party wasn’t about doing the most.
It was about celebrating this moment — this age, this season, this joy.
Kids don’t need perfection. They just want to feel celebrated.
There are only a few short years where birthdays feel this magical, where their faces light up over the smallest details, and where time with friends feels like everything.
You don’t need tons of money. You don’t need weeks of planning. You don’t need Pinterest‑perfect execution.
You just need a reason to say yes to celebrating.
We’re so grateful for friends who showed up last minute, for the chaos, the laughter, and the memories we’ll always cherish.
Our approach is very YOLO — life is worth celebrating, even the little things. If you’re always waiting until you have more time or more money or more space, you’ll miss out on the years where it’s magical no matter what it looks like.
If this gave you inspiration to plan a winter‑themed party, or just reminded you that hosting doesn’t have to be overwhelming, then it did exactly what I hoped it would.
Here’s your reminder: it doesn’t have to be perfect to be memorable.


UI UX Designer, creator, influencer & blogger and helping you learn how to build a career from anywhere. If you found this post helpful or have a question, leave a comment below!
Hi, I'm Kelly!
xoxo,kelly
SHOP COURSES
SHOP Presets

